
Machine Embroidery on Burlap: Creating Stunning Flags!
Embroidered burlap flags have become a popular décor trend, prompting me to craft one for my living space. While I’ve worked with burlap embroidery for festive coasters, it was intriguing to explore larger fabric pieces. After some experimentation, I mastered my burlap embroidery and fashioned an exquisite burlap flag. Excited? Let’s dive into the steps!
Materials You’ll Need:
- Embroidery machine: I used the Brother SE1900
- Burlap: Ensure it’s of high quality
- Stabilizer: Opt for sticky, self-adhesive tear-away stabilizer, coupled with a water-soluble topper like Sulky Solvy
- Needle: 75/11 machine embroidery needle suits best
- Thread: Select embroidery thread that suits your taste. I personally recommend 100% polyester. A thicker thread provides fuller stitch coverage than the standard 40wt.
- For the flag: Elements like ribbon, glue gun, serger, iron-on hem tape, a small dowel, and ribbon come in handy.
- Design Inspiration: I picked “Home Sweet Home” from Creative Fabrica, digitized by Embroidery Shelter suitable for a 5″x7″ hoop.
Selecting the Right Burlap:
For maintaining stitch quality even after removing the stabilizer, it’s imperative to opt for tightly-woven burlap. The ones with gaping holes are unsuitable. My pick was a heavy-weight jute burlap from Hobby Lobby, but feel free to explore other alternatives!
Choosing the Best Stabilizer:
From my trials, the sticky, self-adhesive tear-away stabilizer works wonders. It anchors the burlap threads, preventing movement during embroidery. Other stabilizers failed to grip the burlap effectively, leading to fiber distortion. Additionally, using a water-soluble topping ensures the stitches stand out on the burlap.
Embroidering on Burlap: A Step-by-Step Guide
- Design Marking: The inherent perpendicular fibers in burlap simplify alignment. You just need to pinpoint the design’s center. Water-soluble marking pens or chalk wheels usually do the trick, but placement stickers, made from color coding labels, are equally effective.
- Floating the Burlap: To avoid any creases or distortions, don’t hoop the burlap. Instead, float it on a hooped stabilizer. After hooping a piece of sticky stabilizer, remove its paper top and lay the burlap over it. Align the fibers and ensure the sticker remains central.
- Machine Setup: Attach the hoop to your machine and load your design. Ensure the needle’s center aligns with the burlap mark. Overlay a water-soluble topper on the burlap, securing it with minimal adhesive spray or water. Now, watch the magic unfold as your machine starts embroidering!
- Cleaning Up: After embroidery completion, carefully remove the residual stabilizer. Trim any unnecessary stitches. Gently peel off the water-soluble topper, and in case of remnants, use water. A small heads-up: Burlap can be a bit messy, so a post-project machine cleanup might be in order.
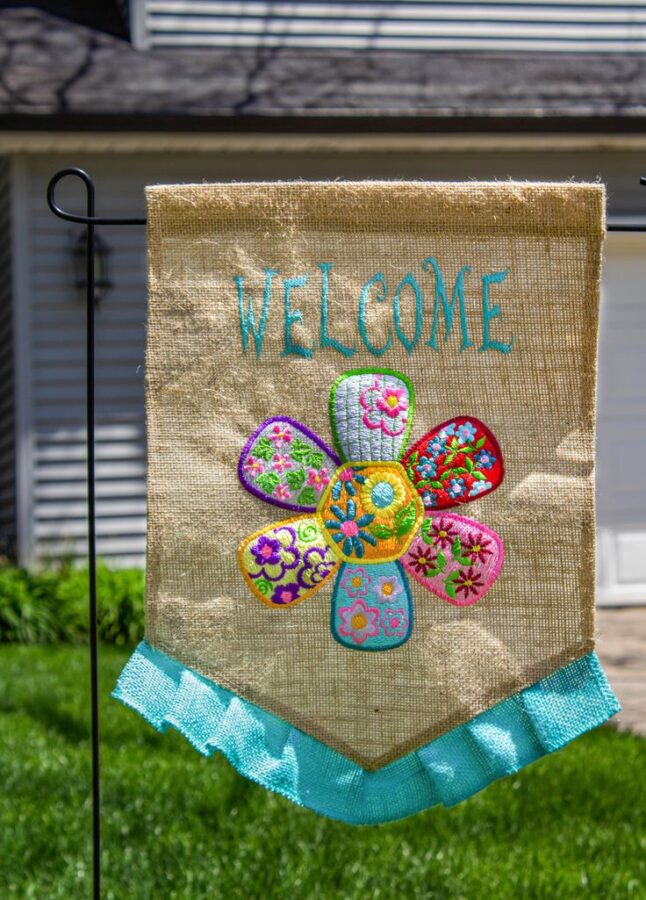
- Assembling the Flag: My embroidered burlap flag braved both torrential rain and Texas’ worst freeze in a century. Here’s a concise guide: Fold quilting cotton, serge its edge to the banner’s right, and press the seam. To avoid fraying, apply hot glue at the intersection. Hem tape is your best friend for neat fabric folds. Lastly, slide a dowel at the top and adorn with ribbons!
Key Details at a Glance:
| Material/Step | Description |
|---|---|
| Embroidery Machine | Brother SE1900 |
| Burlap Quality | Tightly woven, heavy-weight jute |
| Stabilizer | Sticky, self-adhesive tear-away |
| Design Marking | Use placement stickers or water-soluble marking pens |
| Floating Burlap | Place burlap over a hooped stabilizer |
| Machine Setup | Align needle center with burlap mark and overlay with a water-soluble topper |
| Cleaning Up | Remove stabilizers, trim stitches, and clean machine |
| Assembling the Flag | Use quilting cotton, hem tape, and dowel for a perfect flag! |