
Hey there, I’m Luna! As the chill of Fall and Winter sets in, it’s time to cozy up with our beloved flannel. Whether it’s for snapping those adorable pumpkin patch photos, festive family get-togethers, or creating those cuddly Christmas pajamas, flannel is the fabric of the season. ❄️
The holiday season also sparks a crafting frenzy for me, as I strive to craft heartfelt gifts. In the spirit of sharing, I’m here to spill my secrets for impeccable embroidery on flannel. Ready to dive into the world of flannel embroidery with your machine? Let’s go!
Quality Matters
Choosing a high-quality flannel is crucial. I learned this the hard way after some unfortunate incidents with adorable, yet flimsy, llama-patterned flannel. To avoid any mishaps and ensure your embroidered creations withstand the test of time, invest in sturdy flannel with minimal stretch, ample thickness, and a tight weave.
Prep Like a Pro
Flannel tends to shrink, so prewash and dry your fabric just as you would post-embroidery. This preempts any sizing woes down the line. I also swear by a spritz of Best Press to add some crispness before I begin embroidering. If you need extra firmness, ironing on a suitable interfacing, like Pellon SF101, can do wonders.
Stabilization is Key
To prevent any pucker or stretch mishaps, say no to tear-away stabilizers for flannel. A sturdy cut-away or no-show mesh stabilizer will be your best friend, providing ample support for your design. I’m a big fan of fusible no-show for its ease of use and extra stability. Remember to cover the entire hoop area! And for wearable items, consider a soft backing to protect the skin. ️
Top it Off
If your flannel has a bit of a nap and stitches seem to sink in, a layer of water-soluble topping can keep your designs on top of the fluff. This isn’t always necessary, but it’s a nice trick to have up your sleeve.
Design Decisions
Choose designs wisely—appliques, monograms, and low stitch count designs flourish on flannel. Dense designs can be tricky but manageable with some stitch count tweaking via your embroidery software. And, if you’re in search of some festive inspiration, there are plenty of free seasonal designs available.
Supplies for Success
Pick the right thread—rayon, polyester, cotton, or specialty—and match it with an appropriate needle, like the reliable 75/11 embroidery needle. For marking your design, options abound from stickers to soluble markers. And don’t forget your trusty scissors for the finishing touches! ✂️
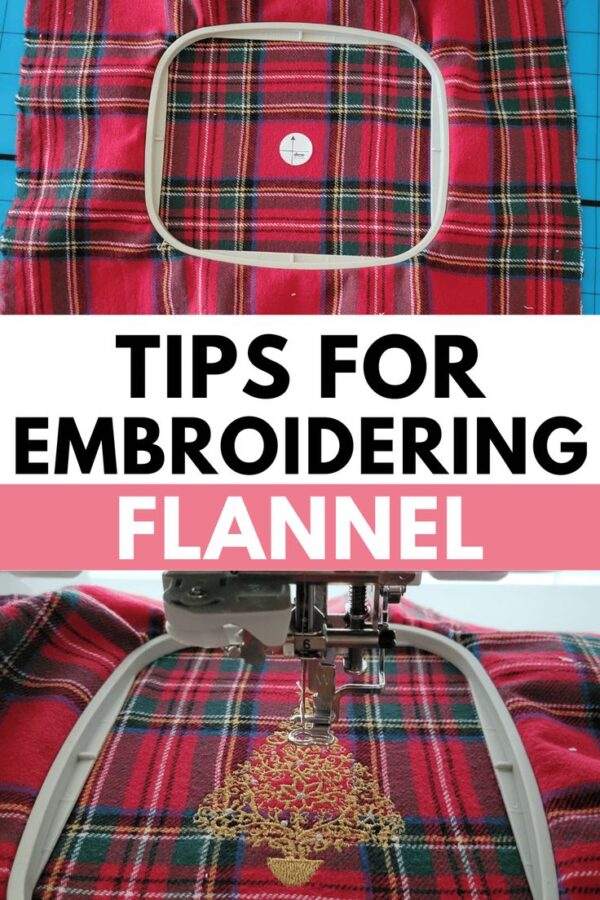
Hooping for Perfection
Whenever possible, hoop your flannel! This is the best way to ensure a smooth embroidery experience. For flannels that tend to move, sticky stabilizer, a basting box, or pins can help keep everything in place.
Table: Embroidery on Flannel Essentials
| Tip | Details |
|---|---|
| Quality Flannel | Choose with minimal stretch and tight weave |
| Preparation | Prewash, dry, and press with Best Press |
| Stabilization | Use cut-away or no-show mesh, avoid tear-away |
| Topper | Water-soluble for fluffy flannel |
| Design | Opt for low stitch count or adjust with software |
| Supplies | Choose the right thread, needle, and marking tool |
| Hooping | Preferably hoop; use stabilizers for stretchy flannel |