
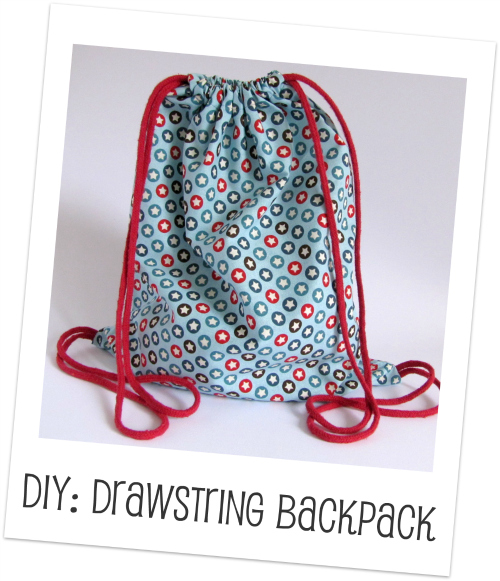
Crafting a DIY Drawstring Backpack for Ballet Gear
Hello lovely sewers! Ever thought of transforming an old dress shirt into something fabulous? Well, I did! For my daughter’s ballet gear, I turned an old men’s shirt into a nifty drawstring backpack. And guess what? I’ve documented the process and am super excited to spill the beans. Let’s dive right in!
Materials You’ll Need:
- Two pieces of fabric (prewashed & ironed) of size 16.75″ x 16.75″.
- Your trusty sewing machine and some thread. (I swear by my Brother CS6000i!)
- A pair of sewing scissors and an iron.
- Either pins or Clover Wonder clips – a sewing gem I can’t live without!
- 2 ropes/strings of around 60-65″ length. I used one that’s 1/4″ thick.
- Two 4-inch pieces of coordinating ribbon. My choice was a ribbon about 3/8″ thick.
Quick Tips Before You Begin:
The backpack I crafted measured approximately 14.5″ x 15.5″ post-sewing. I went with 1/4″ seam allowances and a 1″ casing for my string. Adjust your fabric size if you have a specific size in mind. If you’re considering a thicker rope, remember, you might need to tweak the casing and length.
Let’s Start Crafting!
I find visuals super helpful, so I’ve peppered this guide with images!
- Align your fabric pieces, ensuring right sides touch. I keep them in place with Clover Wonder clips. (A lifesaver with kids around!)
- Sew them together at the bottom using a 1/4″ seam allowance. Finish up the edges in your preferred style. I’m a fan of overcasting stitches. Smoothen the seam with your iron.
- Edge-stitch around your new fabric rectangle for that neat look, especially if you’re gifting or washing often.
- Fold 1/4″ of fabric from both long rectangle sides onto its back. Hold off on stitching for now.
- Time for the casing! Fold the top sections down by 1 1/4″ onto the fabric’s wrong side. Secure them in place with pins or just press them.
- Stitch along your casing using a 1/4″ seam allowance.
- Bring your fabric back to its initial position, with right sides together. Let’s introduce the ribbon. First, fold it so the right sides face outwards and secure it about 1/2″ from the backpack’s base.
- Stitch the backpack’s sides. Remember, stop just before reaching the casing or else your drawstring won’t fit!
- Flip your fabric to reveal the right side.
- The trickiest bit: the drawstring. First, slide the rope through one ribbon end, then pull it through the upper casing. I attach a safety pin to my rope’s end to make this smoother. Loop the string through the opposite casing and bring it down to the ribbon. Knot the two ends, and repeat for the other side. Adjust the drawstring length as needed.
Voilà! Your backpack is ready! I loved how mine turned out and made a couple more as gifts. My daughter’s friends adore them! If you’re using ripstop fabric, do research on sewing with nylon ripstop to get the best results.
| Material | Dimensions/Details |
|---|---|
| Fabric | Two pieces, 16.75″ x 16.75″ |
| Sewing Machine | Brother CS6000i (or any) |
| Drawstring Rope | 60-65″ length, 1/4″ thick |
| Ribbon | Two pieces, 4 inches each, 3/8″ thick |
| Backpack Size (Post-sewing) | Approximately 14.5″ x 15.5″ |