
Welcome, sewing enthusiasts! Ever looked at a cushion cover or a cute sachet and wondered about those crisp corners? Well, today, I’m going to take you through the simple steps to nail that skill!
Sewing Corners: The Basics
Start off with two fabric scraps. They should be either squares or rectangles. Make sure the printed sides (the “right” sides) are facing each other. For our tutorial, let’s mark dots 1/2″ in from each corner. This serves as a guide to know when to pivot or turn. To make my markings, I always use water-soluble marking pens because they wash off with ease. ✨
If you’re working with a slippery fabric, you might want to use pins. For this tutorial, however, I’m skipping pins. Place the fabrics under the presser foot, aligning one of the 1/2″ dots with your needle. Start with a few reverse stitches and then continue towards the corner dot.
Approaching the corner? Go slow! If you’re new to this, use the handwheel on your machine’s right side to control the needle’s movement. If you aim for precision, reduce your stitch length as you inch closer to the dot. When your needle is right on the corner dot, lift the presser foot and pivot your fabric 90 degrees. Lower the foot and sew away!
Finishing Those Corners Right
Once you’ve sewn around, snip off the excess threads. Then, give the bulky fabric at the corners a diagonal trim. This helps in achieving a sharp corner when you invert the fabric. Ensure you don’t snip too close to your stitches! Turn your fabric right side out and use something sharp like a point turner to poke out those crisp corners. If you wish, press your fabric now. Pat yourself on the back!
Level Up: Sewing Wrapped Corners
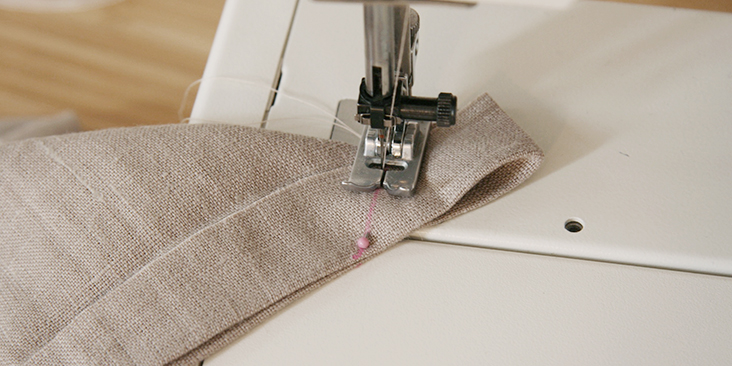
Once you’re comfortable with basic corners, let’s introduce a finesse technique: wrapped corners! They’re a tad more intricate but give super sharp results with lesser fabric bulk. Especially when I’m using my serger, I love this method.
How’s it done? Sew a straight line up to the corner, backstitch, and then cut your threads. Now, fold the corner inward, flatten the fabric, and sew over this fold till the project’s end. Backstitch again and you’re done! This method eliminates the need for trimming corners. For a quick comparison, the wrapped corner technique (left) versus the regular method (right) gives much neater results.
| Detail | Description |
|---|---|
| Basic Sewing | Use dots as guide, pivot at corners |
| Finishing | Trim bulk, use point turner for sharp corners |
| Wrapped Corners | Fold at corner, sew over fold |