
Embroidery Tricks: Mastering the Basting Box Technique
When I first dipped my toes into machine embroidery, the idea of using an embroidery basting stitch felt like a chore. The thought of removing those stitches and making sure the fabric didn’t retain the needle holes was daunting. But, after experiencing unwanted fabric movement a few times, I’ve embraced the art of adding basting stitches to my designs. And you know what? It’s a game-changer for certain projects!
Understanding the Basting Box
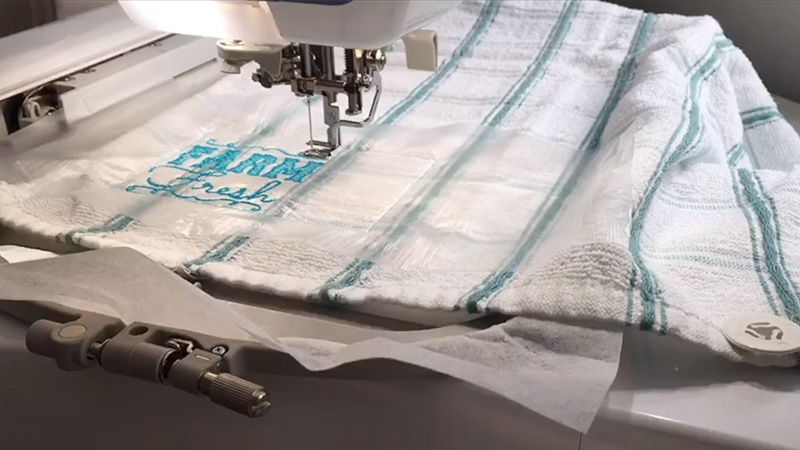
Simply put, a basting box is a rectangular outline of elongated stitches. Its main job is to hold an embroidery piece securely to the stabilizer before the main design comes to life. You can craft these stitches manually, with a sewing machine, or an embroidery machine. Best part? They’re a breeze to remove once the embroidery is done.
Why Basting Stitches Make a Difference
Floating fabric in machine embroidery requires techniques to keep it from moving too much. While there are various methods like adhesive sprays, pins, or self-adhesive stabilizers, I sometimes choose the trusty basting box. This not only minimizes fabric movement, ensuring smoother stitches, but it also aids in holding water-soluble toppings for certain fabrics. Plus, it acts as a neat preview for design placement – always a bonus before diving into the main embroidery!
Is the Basting Box Suitable for All Fabrics?
Here’s a heads-up: some materials, like leather, vinyl, or cardstock, are a no-go for basting boxes. Since they tend to retain any holes made, using a basting stitch can leave permanent marks. Always advisable to do a test run on unfamiliar fabrics before full-fledged stitching.
Exploring Types of Basting Boxes ✨
You’ve got two main options when adding a basting box. First, aligning it to the hoop, which means the basting box will be slightly smaller than your hoop size. The second type surrounds the design, focusing on a narrower area than the whole hoop. Depending on the project and fabric at hand, I oscillate between the two but find myself favoring the design-centric basting more.
Creating Your Basting Stitch Files ️
Many embroidery machines come pre-equipped with their basting box patterns. If yours doesn’t (like my Brother SE1900), fret not! There are two approaches: either import a free or bought basting box design or fashion your own unique design using software. Several sites provide free basting designs tailored for popular hoop sizes. But if you’re keen on personalizing, software tools like SewWhat-Pro and Embrilliance offer easy ways to add basting stitches to your designs.
Post-Embroidery: Removing the Basting Box ⏲️
Once your masterpiece is complete, it’s time for some clean-up. Whip out your trusty seam ripper or a pair of small scissors and gently remove the basting stitches. I’ve found a nifty method: I tear every 4-5 stitches on the design’s front, then extract the uninterrupted bobbin thread from the bottom. Some lint rolling to catch stray threads, and voila! With some practice, this entire process takes less than a minute.
| Key Points | Details |
|---|---|
| What’s a Basting Box? | A rectangular pattern of long stitches to secure embroidery to stabilizers. |
| Benefits | Minimizes fabric movement, holds water-soluble toppings, and previews design placement. |
| Fabrics to Avoid | Leather, vinyl, cardstock, or any material that retains needle holes. |
| Types of Basting Boxes | Aligned to hoop or surrounding the design. |
| Creating Basting Stitch Files | Use in-built machine designs, import from online sources, or use software like SewWhat-Pro and Embrilliance. |
| Post-Embroidery Cleanup | Remove basting stitches using seam ripper or small scissors, followed by lint rolling. |