
Upcycling, refashioning, and repurposing are not just creative pursuits for me, they’re also a nod to a more sustainable way of life. By choosing old clothing pieces as my materials, I keep costs down and alleviate some of the beginner’s sewing anxiety.
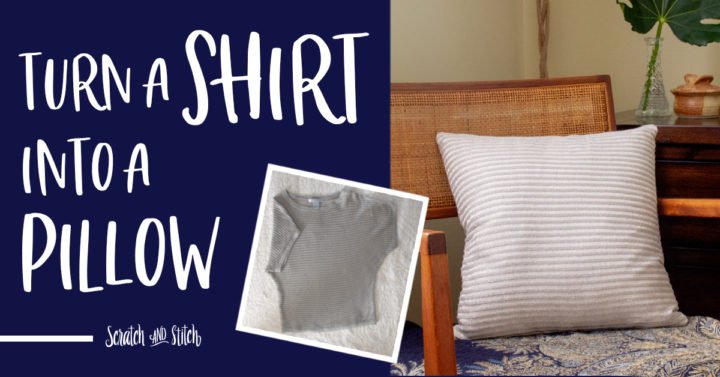
One of my most delightful creations lately? Transforming an old button-down shirt into a chic envelope pillow cover! The bonus was that the shirt’s buttons served as the perfect envelope closure, making this piece a four-seam wonder.
The Tale of Abundant Pillows
It’s hard to believe, but our latest comforter purchase came with a whopping 15+ pillows! And while I adore cushions, most of them ended up stashed in the bedroom corner, hardly seeing the daylight. That is, unless, the in-laws are in town.
It was in such a setting that inspiration struck. My mom’s old lime-green button-down was screaming to be reused, and its shade was an uncanny match with my daughter’s room decor.
Why Choose a Shirt over Traditional Fabric?
If you’re unfamiliar, an envelope pillow cover has an opening at the back, allowing the insertion of the pillow without zippers. Though it’s not complex to make, using a shirt simplifies the process even more! The shirt buttons negate the need for an additional opening, making it ultra-beginner-friendly.
Creating Your Own Envelope Pillow Cover: A Guide
Dive into my easy-to-follow guide and discover the joys of transforming an old shirt into a stylish pillowcase. My record? 15 minutes flat!
Materials
- An old buttoned shirt (cleaned and ironed)
- Pillow form (I used one measuring 12″x20″)
- Sewing machine with matching thread and suitable needle
- Scissors
- Pins or Wonder Clips (my personal favorite)
Selecting the Perfect Shirt
Firstly, ensure your shirt is sufficiently large, allowing for a minimum 1/4″ seam allowance. It’s essential to position the pillow against the shirt to avoid unwanted button and pocket placements. I personally suggest opting for a sturdy woven shirt. Delicate, stretchy fabrics can be more challenging to sew and may not align correctly with the buttons.
Step-by-Step Creation
- First, measure the pillow’s vertical length and add an extra inch (for seam allowance).
- Cut the required fabric piece from the shirt.
- Invert the fabric, and using a 1/2″ seam allowance, clip or pin the edges. Trust me, Clover Wonder Clips are a game changer!
- Sew the top and bottom together, and trim any excess fabric. Don’t worry about it being too neat inside!
- Adjust the width by trimming around 3/4″ from each side and sewing these ends.
- Lastly, unbutton, invert to the right side, insert the pillow, and button up! There you have it, your upcycled pillowcase.
The Final Reveal
Your new pillowcase is ready to flaunt, with a smooth back finish and the satisfaction of having given an old shirt a fresh lease of life!
Table of Key Details:
| Topic | Details |
|---|---|
| Project Type | DIY Envelope Pillow Cover |
| Main Material | Old Buttoned Shirt |
| Time Taken | ~15 minutes |
| Key Benefit | Eco-friendly & Cost-effective |