
Discovering Hidden Treasures at Dollar Tree: Oven Mitts
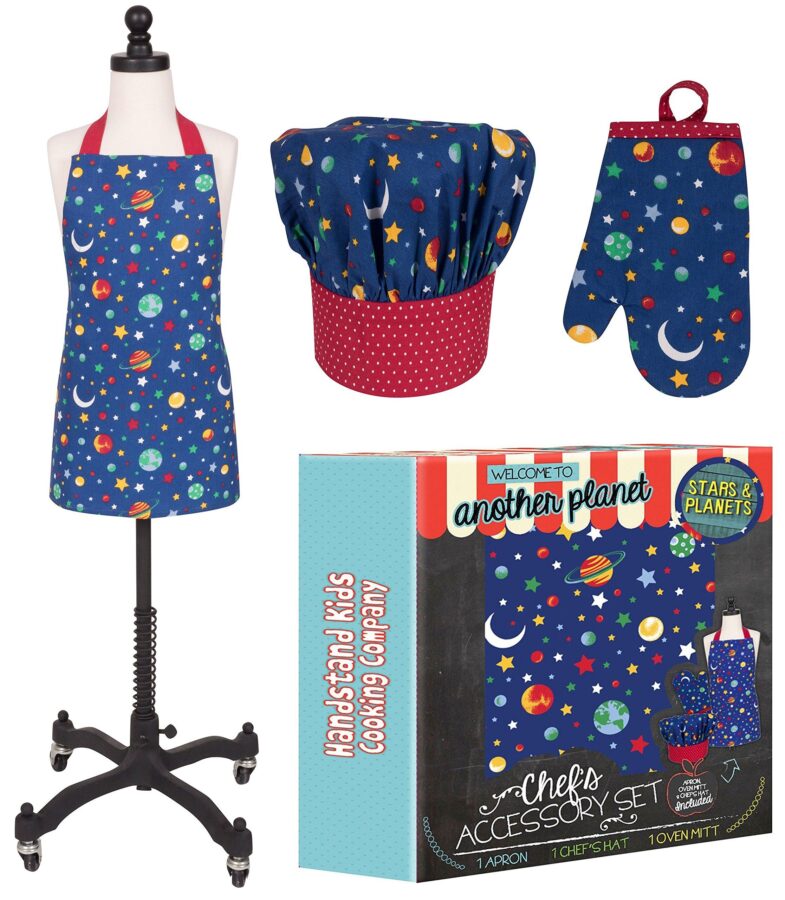
Did you stumble upon oven mitts at Dollar Tree recently? They’re a crafty person’s dream! Not only can they be personalized using machines like Cricut or embroidery, but they also make a wallet-friendly and delightful present for acquaintances, educators, and others!
My creativity started flowing when I found these. I thought, why not create matching oven mitts for my little one and her toy doll? The best part? You can transform a single oven mitt into a pair. If the child’s wrist isn’t exceptionally wide, the original oven mitt’s hem can be a great fit for both the child’s and the doll’s mitt. This pretty much makes it a single-stitch project! Interested in how? Let’s dive in!
Essential Items:
- An oven mitt from Dollar Tree (or elsewhere)
- Sewing machine armed with a 90/14 needle (either sharp or universal) and thread
- Pinking shears or general sewing scissors
- Tool for edge poking like a point turner
- Fabric marker or a washable pen
- (Optional) Sewing machine’s walking foot or even feed foot
Transforming Your Oven Mitt:
To kick things off, invert your oven mitt. All the stitching magic happens here.
Now, place your child’s hand on the mitt and trace around it using your fabric pen. This serves as your sewing path, so seam allowance isn’t a concern. The base of your existing mitt can be the starting point for the new design. However, ensure that there’s enough space at the bottom to flip the mitt right-side-out after sewing. A little tip: it’s simpler to trim excess fabric later than to add more, so when in doubt, go a tad bigger.
While you’re at it, sketch the doll’s mitt pattern as well. Our lovely model for this was Sienna, our doll. I managed to fit both mitts along one side, which let me utilize the original hem.
It’s sewing time! If your machine has a walking or even feed foot, now’s the time to use it, as it can make handling the fabric a breeze. But if you don’t, your zigzag foot should suffice. Just keep an eye on it during the process.
Employ a consistent straight stitch following the lines you’ve drawn. Navigate carefully around the edges, shortening the stitch length for precise turns. Don’t sweat minor imperfections; oven mitts are quite forgiving.
Once stitched, trim the excess using your pinking shears or scissors, ensuring not to snip the stitches.
The final stretch involves turning your creations out. A bit of patience is required here. My trusty point turner helped in ensuring the mitts’ thumbs and fingers were well-shaped. A quick press, and voila! My daughter and her doll can’t get enough of their custom mitts.
Table of Important Details:
| Material | Description |
|---|---|
| Oven mitt | For repurposing |
| Sewing machine & needle | For stitching the mitts |
| Pinking shears/scissors | Trimming excess fabric |
| Point turner | For shaping the mitts |
| Fabric marker | Marking sewing paths |