
Embroidering a QR Code: A Journey of Discovery
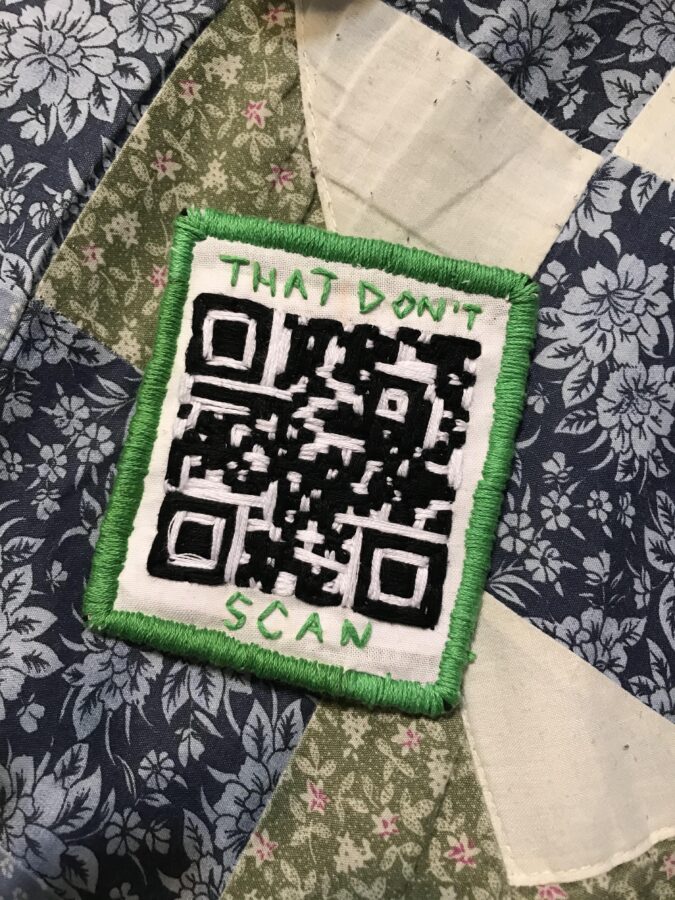
Recently, I stumbled upon a vendor at our neighborhood farmer’s market showcasing keychains with QR code designs. It was an entirely new concept to me, sparking immense curiosity. Considering that QR codes are versatile, connecting to numerous digital platforms, I thought, “Why not try my hand at embroidering one?”
Creating the QR Code
Without any delay, I employed a simple QR Code Generator I found online. Generating one for my personal website, I then tested its functionality using my phone. Voila! It worked like a charm.
Digitizing the QR Code for Embroidery
While manual digitization might seem intimidating, I ventured into auto-digitizing with my trusted embroidery software, Hatch 3. For those who might not have Hatch or find it a tad expensive, another great alternative is SewArt. It’s more budget-friendly and offers numerous tutorials online.
Here’s a quick guide on how to auto-digitize your QR code:
- Import and Adjust: Introduce the image into your software and adjust its dimensions. QR codes should be at least 1″x1″, but I found a 1.5″ square to be ideal.
- Digitize: I tried auto-digitizing and was pleasantly surprised by its efficiency! Double-check its scan-ability using your phone after digitizing.
- Save and Move: Save the design in the format your machine prefers and get it ready for the actual embroidering process.
Embroidering Your QR Code
Let’s dive into the embroidering process:
- Select the Right Supplies: Depending on your embroidery base, you’ll need to choose appropriate stabilizers. For a flawless outcome, I recommend no-show mesh cut-away stabilizers. Additionally, consider the thread’s weight and needle size to achieve the cleanest edges.
- Prep Your Hoop and Machine: Use the smallest hoop possible to reduce potential fabric distortion. Load up your machine, and you’re set to start!
- Get Embroidering: Hit that start button and watch the magic unfold.
- Neaten Those Threads: QR codes often result in multiple jump stitches. It’s essential to trim these to ensure scan-ability.
- Scan Your Masterpiece: Once tidied up, test your embroidered QR code. Fingers crossed for a successful scan!
Wrapping Up
I’m thrilled with my embroidered QR code, and I genuinely hope you find inspiration in this project. Who knows what other innovative applications you might come up with?
| Steps | Description |
|---|---|
| Create QR Code | Use a QR Code Generator online |
| Digitize | Use software like Hatch 3 or SewArt |
| Embroider | Choose supplies, prepare machine, and start embroidering |
| Tidy Up | Trim jump stitches for clear QR code |
| Test | Scan the code with a smartphone |