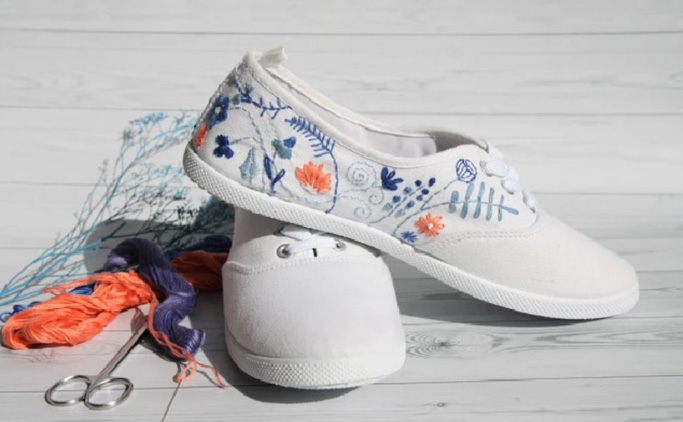
The journey of embroidering shoes is quite the adventure. It’s not always easy, especially when trying to flatten the tongue or when you face the occasional hiccup like a snapped needle or an uncooperative embroidery machine. But oh, the satisfaction of seeing that final masterpiece? Priceless!
My current project was fueled by my fascination for eyeglasses. Despite not visiting the optometrist as often these days, my fondness for spectacles hasn’t waned. So, I decided to jazz up a blue pair of shoes I had by embroidering glasses on them!
Embroidering on Converse shoes, particularly the high tops, is generally simpler due to their longer tongues. My choice, however, were Vans, which required a tad more finesse because of the shorter tongue. The embroidery journey isn’t without its constraints. You’ll want to choose lace-up shoes so you can fully extend the tongue. Also, based on my trials, smaller shoes (like children’s sizes) can be challenging. But on the flip side, my husband’s notably large shoes were a breeze!
Essentials for Shoe Embroidery:
- Embroidery machine: I utilized my Brother SE1900.
- Stabilizer: Go for a sticky, self-adhesive tear-away variety.
- Thread: 100% polyester suitable for embroidery machines.
- Needle: I opted for a 75/11 embroidery needle, but adjust based on your shoe material.
- Marking tools: Chalk wheel did the trick for me.
- Other necessities: Small scissors, painter’s tape, and your chosen embroidery design.
When selecting a stabilizer, remember that shoes can be tricky to embroider on, as they may shift. This is why I relied on a self-adhesive stabilizer and painter’s tape to ensure everything stayed in place. You might want to reevaluate if you’re working with a highly detailed design on a thin shoe tongue.
How to Embroider a Shoe: A Detailed Walkthrough
- Preparing the Shoe: First off, remove those laces! It’s essential for easy access. Then, decide where you want your design to sit and mark the center. I used my trusty chalk wheel, but water-soluble pens work great too.
- Hoop Setup: First, you’ll want to secure a sticky, self-adhesive tear-away stabilizer in the hoop. The adhesive side should be upwards. After marking the stabilizer’s center, float the shoe over it, aligning your previously marked centers. For added stability, I taped the shoe’s edges.
- Machine Setup: Attach the hoop carefully, ensuring the shoe doesn’t obstruct the machine. I kept the lace parts taped away to avoid chaos. Load your design, center it, and then run a preview. Ensure there’s no chance of collisions! I reduced the stitching speed for more control and precision. When all’s set, let the embroidery commence!
- The Finishing Touches: Once done, carefully unhoop and remove any stabilizer remnants. Clean up any thread jumps and erase marking residues. Laces back in, and voila! You’re ready to strut in style!
If you’re feeling adventurous, explore embroidering on shoelaces or even cozy house slippers next. The sky’s the limit when you let creativity lead the way!
| Key Points | Details |
|---|---|
| Shoe Type | Vans |
| Embroidery Machine | Brother SE1900 |
| Stabilizer | Sticky, self-adhesive tear-away |
| Thread | 100% polyester |
| Needle | 75/11 embroidery needle |
| Marking Tool | Chalk wheel |

