
Attention fellow quilt enthusiasts! Ever found yourself in a conundrum over the perfect label for that masterpiece quilt you spent hours on? Worry not, for I, Luna, have discovered the ultimate method for creating them. No more hand-cutting or trying to decipher your own scribbles!
My go-to method is crafting personalized fabric labels using the Cricut Maker, and the design I whip up on my computer. Not only is this efficient, but also super simple! Curious? Let’s dive in!
My Two Signature Cricut Quilt Label Types:
- Heat transfer vinyl labels: Crafted by cutting HTV with the Cricut and ironing it onto cotton fabric. You can either sew this onto your quilt or utilize fusible web like HeatnBond Lite.
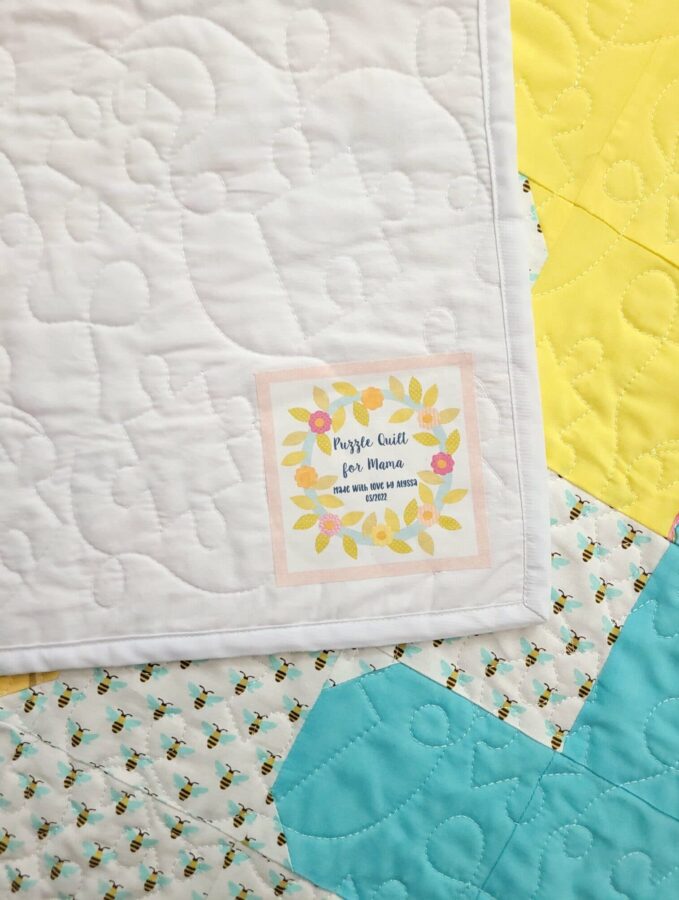
- Printable fabric labels: Achieved by directly printing on fabric. Though it can be hand-trimmed, a Cricut excels at giving those intricate labels a perfect finish. This method is a breeze, especially compared to the time-consuming vinyl weeding!
Materials You’ll Need:
For exceptional quilt labels using a Cricut, invest in top-quality printable fabric sheets. I frequently opt for June Tailor fusible fabric sheets or Avery printable ones. And if you’re anything like me, an iron-on fabric sheet would be your best friend! Do ensure you have an inkjet printer; it’s the chosen one for fabric labels.
Steps to Craft Perfect Quilt Labels with Cricut Maker:
- Design your Quilt Label: Unleash your creativity! Utilize any graphics program of your choice (like Adobe Illustrator or Canva) or the Cricut Design Space itself. You can also explore online quilt label designs, like those by June Tailor. For this tutorial, I utilized Electric Quilt 8 software.
- Load Your Design in Cricut Design Space: Upload your masterpiece into the Cricut workspace, ensuring you pick the ‘Print Then Cut Image’ option. Adjust its size as per your quilt’s need.
- Printing on Fusible Fabric: Ensure the ink lands on the fabric-feel side of the sheet. Once printed, let it dry before the next steps.
- Cutting the Printed Fabric with Cricut: This is where the magic happens! Set the fabric type to ‘Fusible Fabric’, use the rotary blade and the pink cutting mat. Let the Cricut do its thing, and your label is ready!
- Ironing The Label: Place your label (print side up) where you want it on your quilt. Following specific directions for your fabric type, press it onto the quilt. Remember, pressing down is the key, not moving the iron around!
If you possess other cutting machines like Brother ScanNCut, the process remains largely the same. Just replace the Cricut-specific steps with your machine’s interface. And though I’ve dabbled with sublimation ink, I always find myself coming back to my trusty Cricut Maker. Why? Simply because nothing beats the aesthetic of 100% cotton quilt labels!
Table: Quick Guide to Cricut Quilt Labeling
| Steps | Description |
|---|---|
| Design | Use a graphics program or Cricut Design Space. |
| Upload | Load the design into Cricut, selecting ‘Print Then Cut Image’. |
| Ensure ink lands on the fabric-feel side of the sheet. | |
| Cut | Use the ‘Fusible Fabric’ setting on Cricut. |
| Iron | Press the label onto the quilt, avoiding moving the iron around. |