
Hey there! I’m Luna, a fashion designer, and I’m here to show you how simple it is to embroider burp cloths with your embroidery machine. Not only are these a wonderful homemade gift for new parents, but they’re also a practical necessity for those unexpected messes!
Ready to Dive In?
Follow this comprehensive guide on crafting embroidered burp cloths, starting from choosing the right materials to setting up your machine. Let’s jump in!
What You’ll Need:
- Embroidery machine & the right size hoop
- Burp cloths
- Embroidery thread (I swear by 100% polyester embroidery thread)
- Embroidery needle: Specifically, a 75/11 embroidery machine needle (I personally use the Schmetz gold 75/11 needle)
- Stabilizer (more on choosing the right one soon)
- Embroidery scissors (My favs are the duckbill and double-curved types!)
- Marking tools
- Optional: A temporary fabric spray adhesive (I recommend Odif 505)
Finding the Perfect Burp Cloths:
When I became a mom, many gifted me embroidered cloth diapers which doubled as burp cloths. However, I wasn’t a big fan due to their bulkiness and lack of softness. That’s when I discovered muslin burp cloths – they’re lightweight, less bulky, and just adorable when embroidered! Though a bit trickier to embroider due to their delicate nature, the end result is absolutely worth it. Do note they might shrink after the first wash, so pre-washing can be a good idea.
Choosing the Right Stabilizer:
The stabilizer you pick largely depends on your embroidery design’s density and your burp cloth’s material. For dense designs on stretchy cloths, opt for cut-away stabilizer or no-show mesh. Tear-away stabilizers might not withstand repeated washings, resulting in unsightly puckering. A solid cut-away stabilizer ensures the design stays beautiful even after many washes. For those delicate muslin cloths, I also apply a water-soluble topping for extra support and less distortion.
Design Tips:
I adore using monograms, applique designs, and fill-stitch patterns with ample space. If you’re using a lightweight cloth like me, go for designs with a smaller stitch count. But if you have a sturdier cloth, feel free to explore diverse designs.
Step-by-Step Embroidery Tutorial:
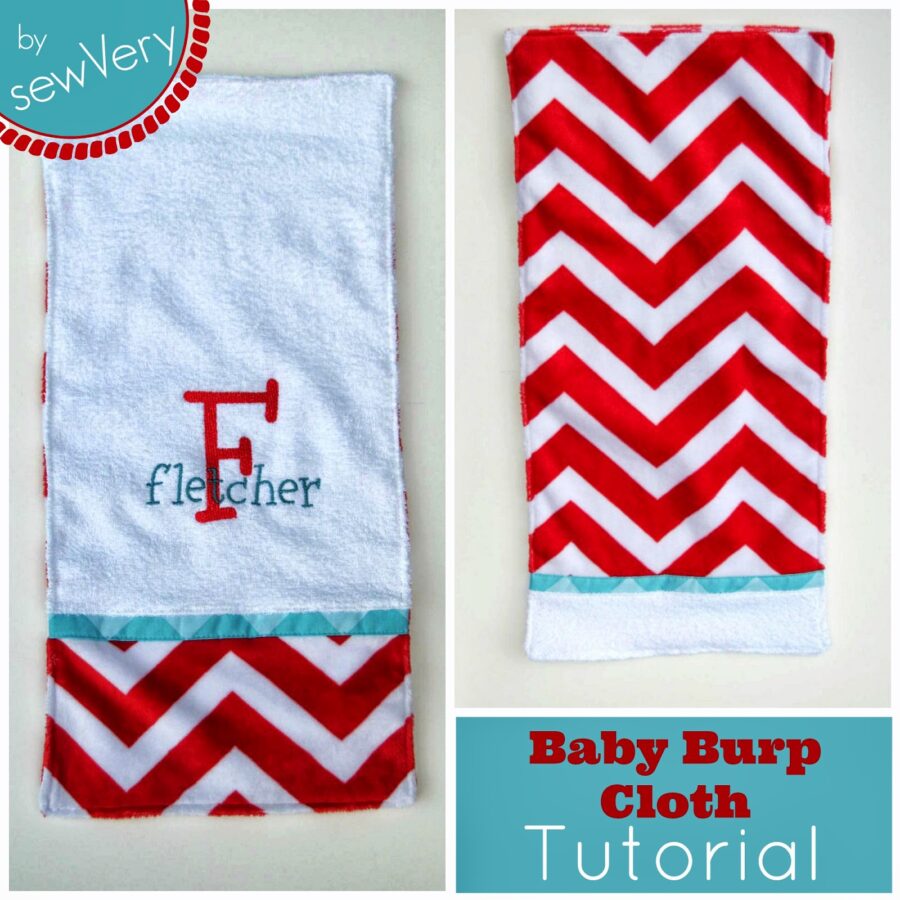
- Mark the Burp Cloth: Begin by marking the center of your chosen design on the cloth. For a chic look, I prefer placing my designs at the burp cloth’s narrow end.
- Hooping vs. Floating: Though I usually hoop materials, with these cloths, floating them over the hoop works best. To do this, hoop your stabilizer, apply a fabric spray, and then place the cloth, ensuring alignment.
- Machine Setup: Load the cloth into your machine, ensuring the bulk faces away from the machine’s throat space. Double-check the needle, threads, and design orientation. Remember to always preview the stitching area to avoid any mishaps!
- Wrapping It Up: Once embroidered, gently remove the cloth, trim away excess stabilizer, and clean up the design. For a polished look, use duckbill scissors. A splash of water will easily remove any leftover fabric pen marks or water-soluble topping. Let it dry, and voila, your masterpiece is ready!
Key Details at a Glance:
| Materials | Details |
|---|---|
| Burp Cloth Preference | Muslin burp cloths |
| Stabilizer Recommendation | Cut-away or no-show mesh for dense designs |
| Design Tip | Opt for monograms, applique designs, and fill-stitch patterns |
| Machine Setup Tip | Ensure the bulk of the cloth faces away from the machine’s throat space |